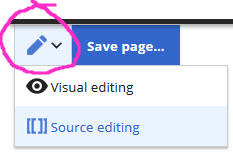
No edit summary Tag: 2017 source edit |
No edit summary Tag: 2017 source edit |
||
| (One intermediate revision by the same user not shown) | |||
| Line 23: | Line 23: | ||
<br clear=all> | <br clear=all> | ||
==== Linking an image to a page ==== | ==== Linking an image to a page ==== | ||
If you have an image which you wish to link to a page of information, like the | If you have an image which you wish to link to a page of information, like the image thumbnail of the 'Significant Plants' book, and see a mouse-over instruction, write the code like this: | ||
<pre>[[Image: | <pre>[[Image:SignificantPlants thumb.jpg|center|600x600px|link=https://static.datamap.co.nz/Publications/Significant%20Plants%20Pukekura%20Park.pdf|click here for the online book]]</pre> | ||
[[Image: | [[Image:SignificantPlants thumb.jpg|center|600x600px|link=https://static.datamap.co.nz/Publications/Significant%20Plants%20Pukekura%20Park.pdf|click here for the online book]] | ||
=== Other Useful Tricks === | === Other Useful Tricks === | ||
Latest revision as of 12:10, 16 July 2020
Editing a page with source
You have a choice of Visual editing and edit source which can help with more sophisticated formatting if you need to make tables, or creating borders around images with varied spacing.
Creating a layout with borders around images and appropriate spacing can be troublesome in the Visual edit, particularly if the images are of varied sizes and need defining.
Boxes
- If you want a grey box around some code or text, write the source edit as:
[[File:insert image ABC.jpg|frame|400x400px]]
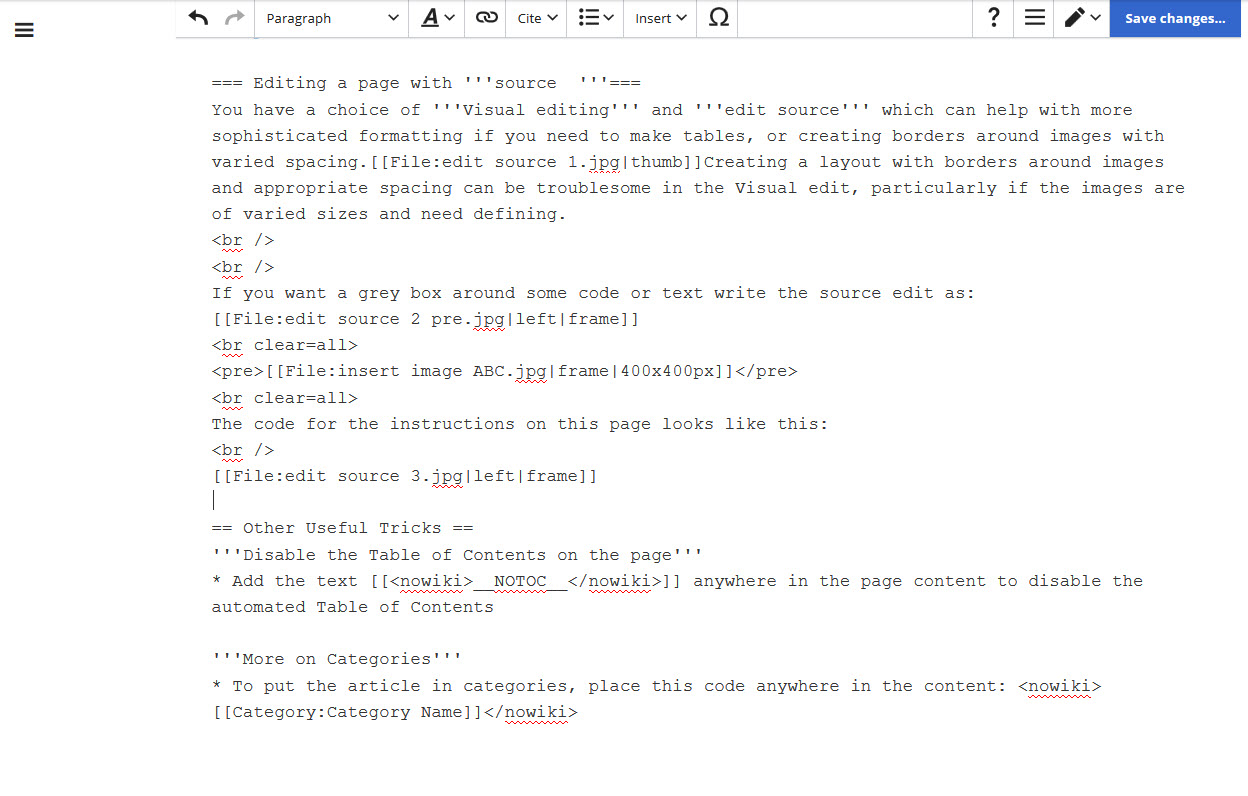
The code for the instructions on this page looks like this:
- The code for a blue box is
{| class="border-blue, bluebox"
|<big>You are welcome to join by logging in to the wiki and add information or new projects. Just enrol, then log in to the wiki and start adding to it.</big>
|- }
|}
| You are welcome to join by logging in to the wiki and add information or new projects. Just enrol, then log in to the wiki and start adding to it. |
Linking an image to a page
If you have an image which you wish to link to a page of information, like the image thumbnail of the 'Significant Plants' book, and see a mouse-over instruction, write the code like this:
[[Image:SignificantPlants thumb.jpg|center|600x600px|link=https://static.datamap.co.nz/Publications/Significant%20Plants%20Pukekura%20Park.pdf|click here for the online book]]
Other Useful Tricks
Creating breaks
Write this code between lines on a page - use
<br clear=all>
Disable the Table of Contents on the page
Add the text [[__NOTOC__]] anywhere in the page content to disable the automated Table of Contents
More on Categories
To put the article in categories, place this code anywhere in the content: [[Category:Category Name]] N.B. the use of the 'nowiki' in the edit source (see image above) stops this category instruction from taking effect on this page!


